As an Amazon Associate, we earn from qualifying purchases. Some links may be affiliate links at no extra cost to you. Although our opinions are based on curated research, we haven't used these products. Articles generated with AI.
B650 Gaming X AX V2: Screw Types Revealed
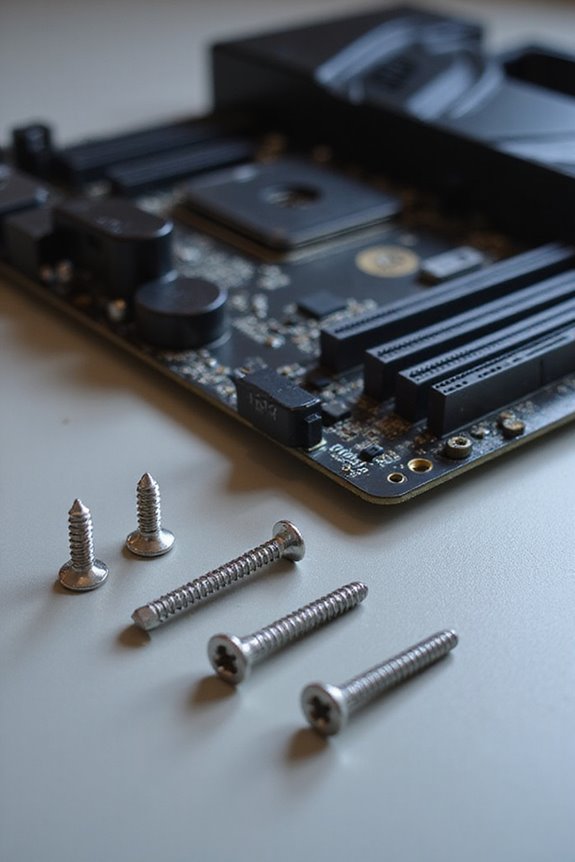
When installing the B650 Gaming X AX V2 motherboard, using the correct screws is key to a solid setup. You’ll need standard 6-32 screws for securing the motherboard to standoffs. Additionally, M3 screws help with 2.5-inch drives and standoff screws are essential for stability. Make sure to tighten screws snugly but avoid over-tightening to prevent damage. Proper screw usage enhances airflow and component longevity, so stick around for more tips on getting it right!
Key Takeaways
- The B650 Gaming X AX V2 motherboard primarily uses 6-32 screws for secure mounting to the chassis.
- M3 screws are required for securing 2.5-inch drives and other components like the CPU retention frame.
- Tiny M2 to M3 screws are utilized for the installation of NVMe SSDs on the motherboard.
- Ensure proper alignment of standoffs to avoid cross-threading and electrical shorts during installation.
- Refer to the motherboard manual for specific screw types and lengths recommended for optimal assembly.
Overview of Screw Types Used in B650 Gaming X AX V2
You may be interested


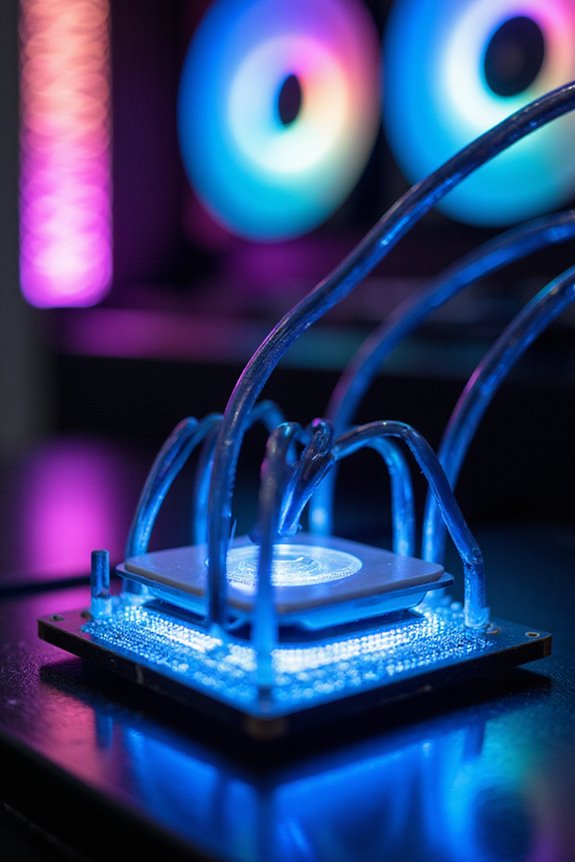
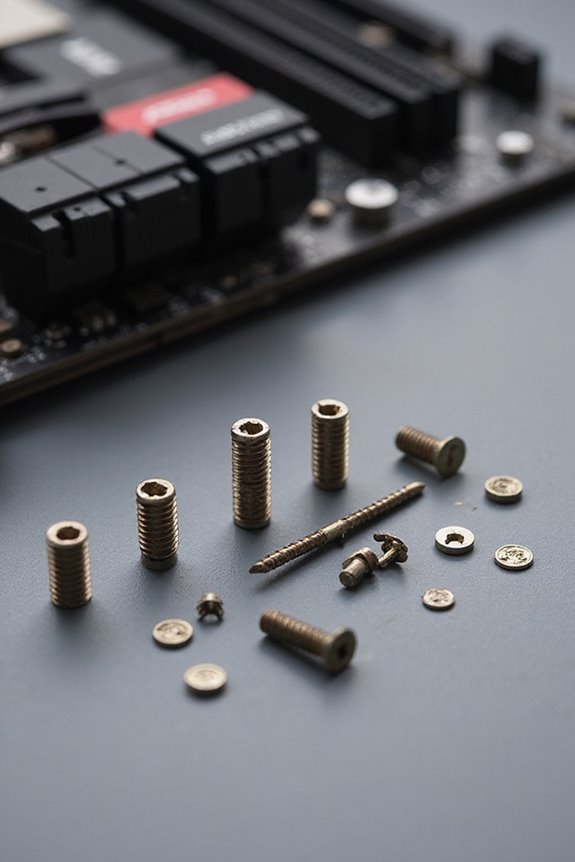
When diving into the B650 Gaming X AX V2, it’s important to recognize the variety of screw types that play a role in its assembly and functionality. You’ve got the standard M3 screws securing the CPU retention frame, with four needed per socket. Then, there are specialty screws for the CPU cooler, which might include standoffs and brackets.
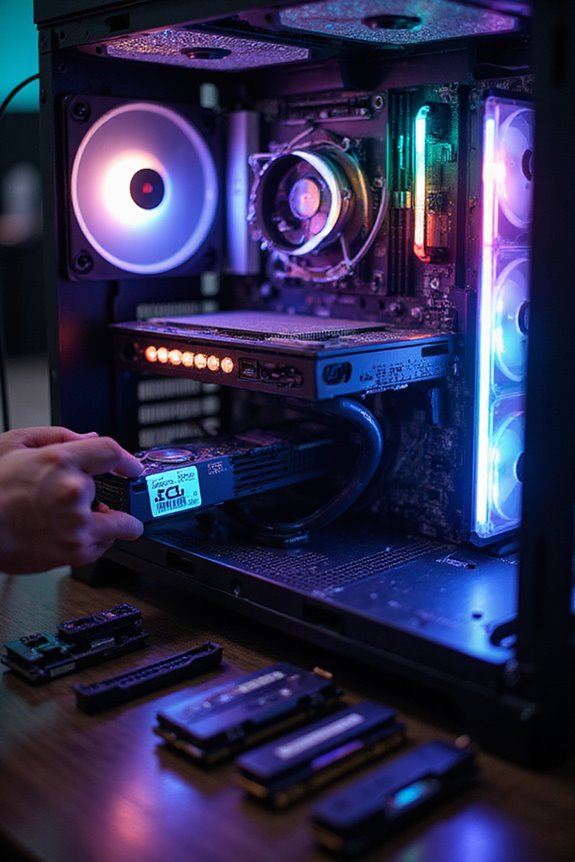
What’s more, those tiny M2 to M3 screws for your NVMe SSD can easily go missing—trust me, I’ve been there. And let’s not forget the ATX chassis mounting screws, usually 9 to 12 of them, ensuring everything stays snug. Each screw type has its purpose, making your build both secure and efficient, even if it sometimes feels like a scavenger hunt!
Importance of Screw Types for Motherboard Installation
Screw types play a significant role in the installation of your motherboard, directly impacting both performance and safety. Using the right screws guarantees that your motherboard is elevated properly, preventing pesky electrical shorts that could ruin your components. Materials like brass and aluminum provide that fundamental electrical isolation while offering sturdy structural support.
I’ve learned that standoff screws create a significant gap for airflow, which helps keep things cool—something every gamer appreciates. Choosing screws compatible with your motherboard and case design is essential for a secure fit; nobody wants to deal with cross-threading disasters. While it might seem like a minor detail, the right screws can really enhance the durability and longevity of your build, making the whole experience smoother and more reliable.
Common Screw Sizes and Specifications
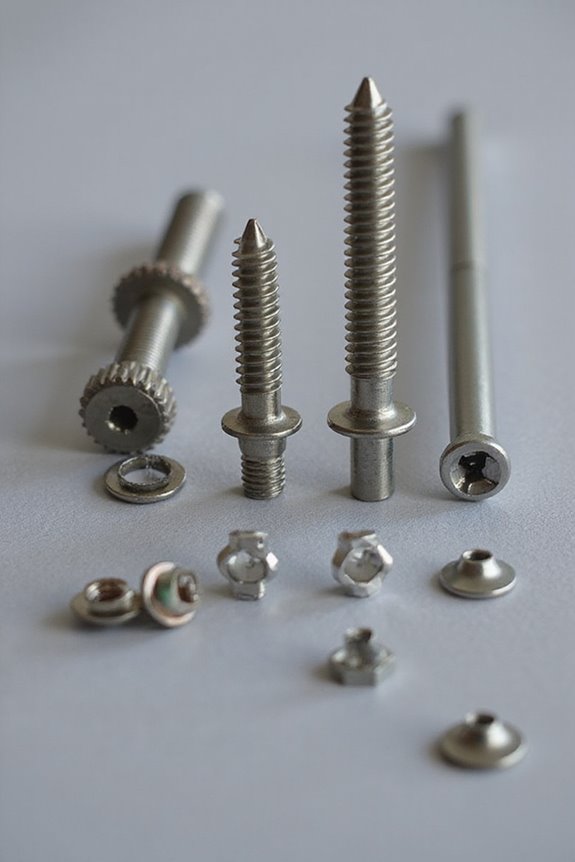
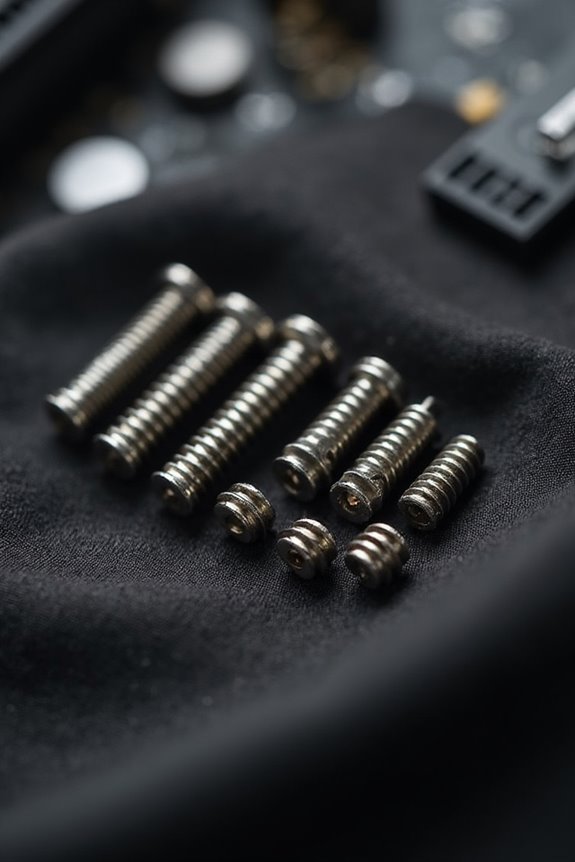
Choosing the right screws is essential for any PC build, especially when it comes to motherboard installation. For most setups, you’ll want to stock up on 6-32 screws, ideal for mounting motherboards and expansion cards. M3 screws are perfect for 2.5-inch and 5.25-inch drives, while 4-40 screws pop up occasionally in specific cases. Don’t forget about standoff screws, which can vary by brand. They often match your motherboard’s screw size.
Fine-thread screws serve precision needs in expansion slots, while coarse-thread ones are your go-to for side panels. Standard lengths like 6-32 x 3/16″ keep things snug, but some builds might need custom lengths. With the right screws, your build will not only be functional but also secure.
Tools Needed for Screw Installation
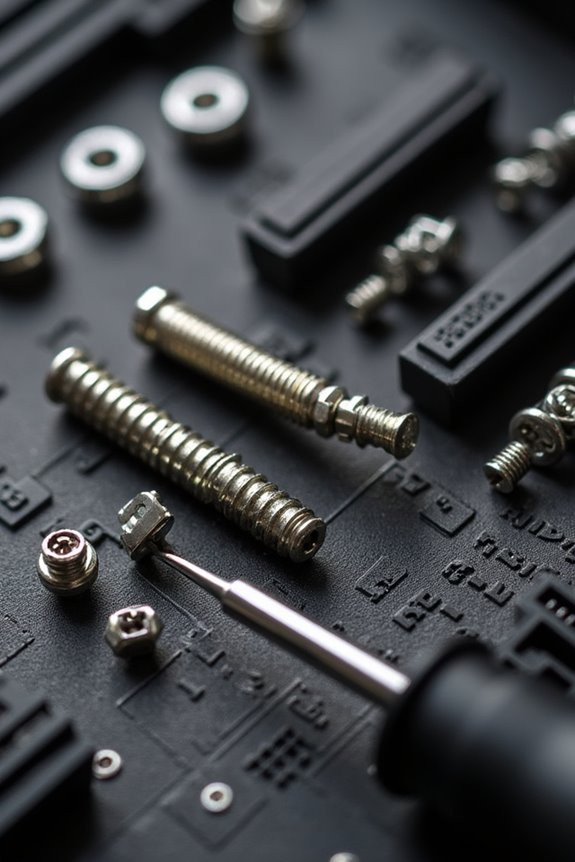
Getting the right tools for screw installation can make all the difference in your PC build. You’ll definitely want a Phillips-head screwdriver; it’s the standard for most screws you’ll encounter. A snug fit is key to avoiding stripped screws, so double-check the size. I recommend using a magnetic screwdriver, too—it’s a lifesaver for picking up those tiny screws that seem to vanish into thin air.
Don’t forget an anti-static wrist strap or mat to protect your components from static electricity. A clean, flat work surface helps prevent accidental damage, and having your motherboard and case manuals handy will guide you through the specifics. Trust me, a bit of preparation makes the whole installation process smoother and more enjoyable!
Step-by-Step Guide to Installing Screws
Installing screws can seem like a small task, but it sets the foundation for your entire build. First, align your motherboard with the standoffs in your case. Make sure those standoffs match the mounting holes on your motherboard; this is critical for avoiding damage. I usually start by securing the corners with Phillips head screws, then work my way around to the other holes. Remember, even tightening is key—too tight can warp it. Use screws typically sized M3 or M4, made of steel or aluminum for durability. Don’t forget to check your work afterward; you want everything snug but not over-tightened. It’s all about that balance for a solid, reliable build.
Best Practices for Securing Your Motherboard
When it comes to securing your motherboard, attention to detail can make all the difference. First, I always check the standoff configuration; making sure they align properly with the motherboard’s mounting holes is vital. Using the right screw type is equally important; 6-32 screws are typically best for the motherboard while M3 screws work for smaller components. I find that screws should turn easily into standoffs without resistance, ensuring a snug fit. It’s also essential to tighten screws securely but avoid over-tightening, which can damage the board. Finally, I recommend referring to the case manual for specific guidance on standoff placement and screw types. Trust me, these little steps help in keeping everything stable and functional!
Troubleshooting Screw-Related Issues
Even after you’ve secured your motherboard, screw-related issues can pop up and cause frustration. I’ve experienced the dreaded infinite spinning when screws are too long or misaligned with standoffs. It’s a headache when you realize the screw doesn’t fit or if the threads are stripped from over-tightening. Always check your standoffs first; they should be snug and properly installed. A quick visual inspection can save you time—make sure the motherboard sits flat and aligned. If you’re unsure about screw types, consulting the manual can guide you to the right fit. Remember, taking a moment to verify screw length and compatibility might just save your build from a small but annoying setback. Happy building!
Maintenance Tips for Screw Integrity
Maintaining screw integrity is essential for the overall performance of your build. I always guarantee that I choose the right screws—compatible with the motherboard and case. Using the correct thread type is critical to avoid resistance during installation. I recommend high-quality screws to prevent corrosion and enhance durability.
Regular inspections are a must. I check for wear and tighten screws gently to maintain security without stripping threads. It’s also smart to clean screws and standoffs to keep connections reliable. Don’t forget the importance of grounding; screws should touch grounding points to prevent electrical issues. Finally, store screws in a dry place and label them for easy access. It’s these small details that keep things running smoothly!
Frequently Asked Questions
What Materials Are the Screws Made Of?
I often find screws made of steel for durability, brass for conductivity, and sometimes nylon or aluminum for lighter applications. Each material serves a purpose, depending on what I need for specific projects.
Are There Screw Alternatives for Motherboard Installation?
Sometimes, I find screw alternatives for motherboard installation quite fascinating. You’ve got latches, clips, and even tool-free mounts that make things easier. It’s like a little dance of convenience, and I love it!
How Do I Prevent Screw Stripping?
I’ve found that using the right screwdriver size and applying steady pressure helps prevent screw stripping. Always align straight and avoid over-tightening—trust me, it makes a world of difference in keeping things secure.
Can I Reuse Old Motherboard Screws?
Absolutely, you can reuse old motherboard screws as long as they fit correctly. Just check their length and thread type to avoid issues. I’ve done it before—it’s a simple way to save time and money!
What Is the Torque Specification for Motherboard Screws?
I’ve found that motherboard screws should be tightened until snug, but not overly tight. Just enough to hold everything in place without risking damage. It’s all about that perfect balance for a stable build!